- Create a new document (Ctrl/Cmd + N) with the dimensions 200px by 200px.
- Reset the foreground and background colors to black and white.
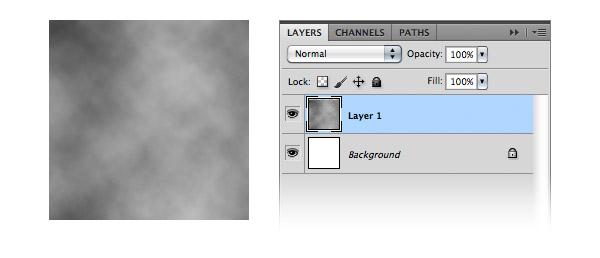
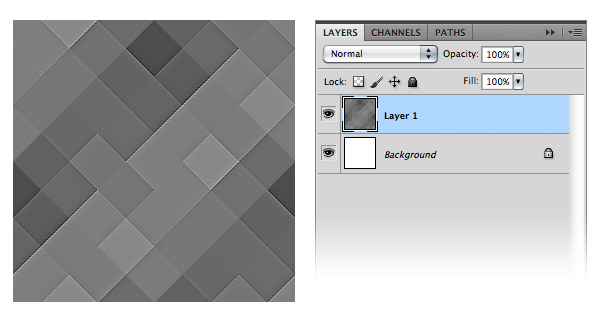
- Create a new layer (Ctrl/Cmd + Shift + N) and go to Filter > Render > Clouds.
- Right-click on the "Layer 1" layer and select Convert to Smart Object.
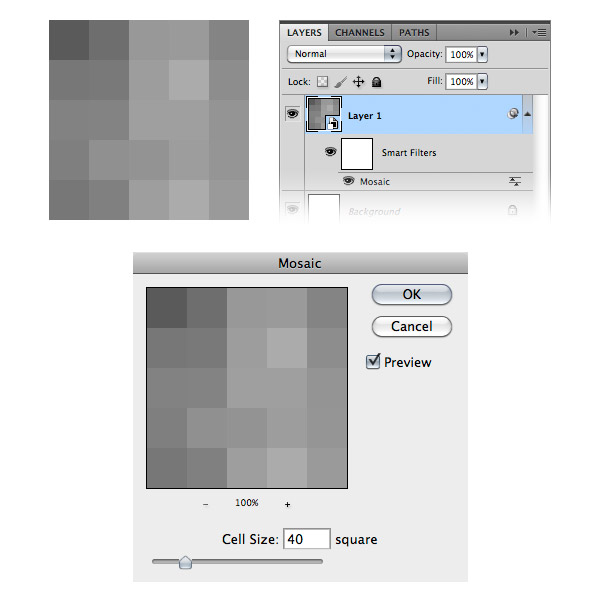
- Then go to Filter > Pixelate > Mosaic and set the Cell Size to 40.
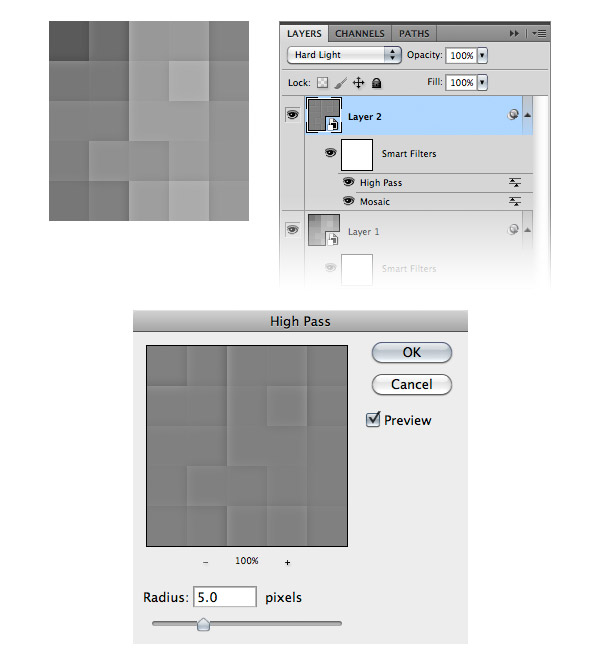
- Duplicate the "Layer 1" layer (Ctrl/Cmd + J). Then go to Filter > Other > High Pass and set the radius to 5px.
- Set the blend mode(up right the layer panel or double click layer) of this layer to Hard Light. This will make mosaic effect sharper and add some shadow around the squares.
- Now we will make the mosaic effect even sharper. Create a new layer above all the other ones (Ctrl/Cmd + Shift + N).
- Go to Image > Apply Image and click OK. This will create a rasterized image from all the current layers, but keep all the other layers intact.
- Right-click on the layer 3 and select Convert to Smart Object. I usually like to use Smart Object whenever I can so I know what filters I have previously applied and to play around with the filters.
- Now go to Filter > Sharpen > Sharpen. Hit Ctrl/Cmd + F to apply this filter one more time. Two times should be enough for the image to get those nice highlights between squares.
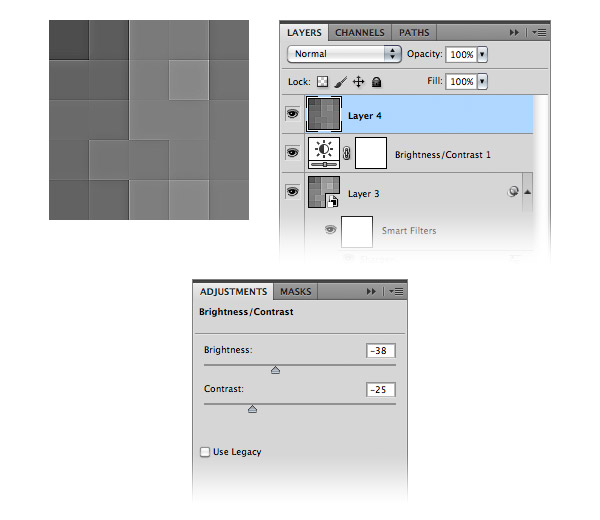
- Go to Layer > New Adjustment Layer > Brightness/Contrast and use the settings from the following image. This action create a new layer with brightness
- Then create a new layer above all the other ones and go to Image > Apply Image to create a rasterized image of all the layers.
- To create the first pattern go to Edit > Define Pattern and click OK. In the next steps I will show you how to use this pattern to create a diagonal mosaic pattern. Do not close this document, we will it later.


- Create a new document (Ctrl/Cmd + N) with the dimensions 800px by 800px.
- Create a new layer (Ctrl/Cmd + Shift + N) and fill it with white.
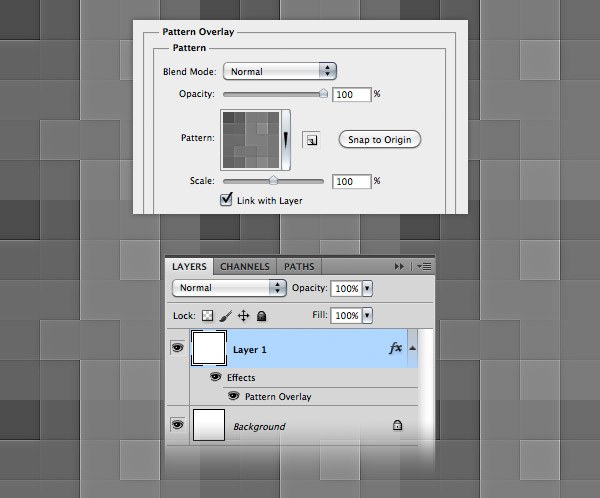
- Double-click on this layer to open the Layer Style window select Pattern Overlay, and select the mosaic pattern.
- Right-click on the "Layer 1" layer and select Convert to Smart Object.
- Go to Edit > Free Transform (Ctrl/Cmd + T), hold down the Shift key and rotate this layer -45°.
- Go back to the document where you created the initial mosaic effect and move the rasterized layer ("Layer 4") into this new document.
- Right-click on this layer and select Convert to Smart Object. Then use Free Transform (Ctrl/Cmd + T) to rotate this layer 45° as well.
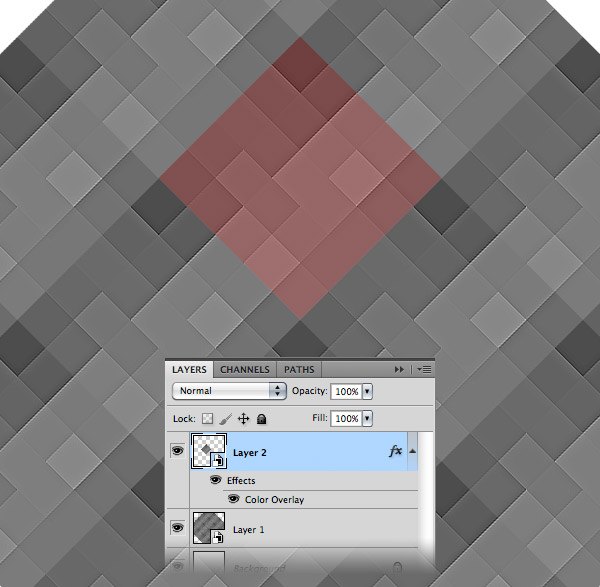
- Select the Move Tool (V) and move this layer around to integrate it in the background pattern. I used the darker square from pattern as reference in order to find the right position for this layer. You can also use the arrow keys while having the Move Tool (V) selected in order to move the layer pixel by pixel. In the image below I highlighted the small pattern with red so you can see it.
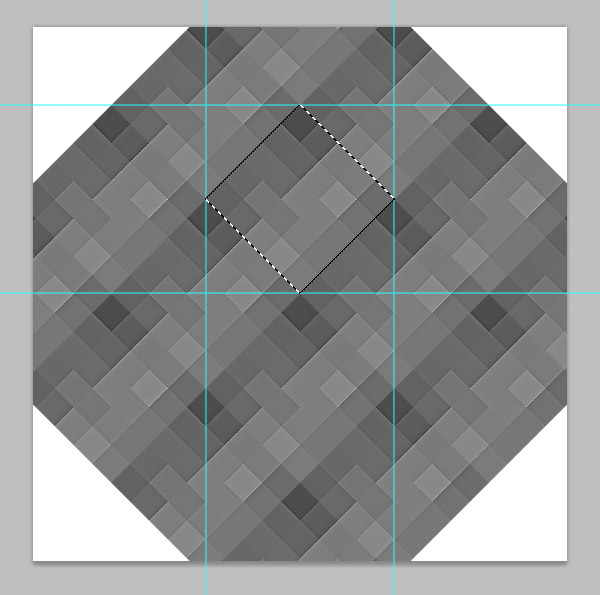
- Hold down the Ctrl/Cmd key and click on the thumbnail of "Layer 2" to create a selection of the small pattern. Then activate the Rulers (Ctrl/Cmd + R) and drag some guides from the rulers towards each corner of the selection, as you see in the image below.
- Now the square that was formed using the guides will be our new pattern. Hit Ctrl/Cmd + D to deselect. Then delete the layer of the small pattern. We don’t need it anymore.
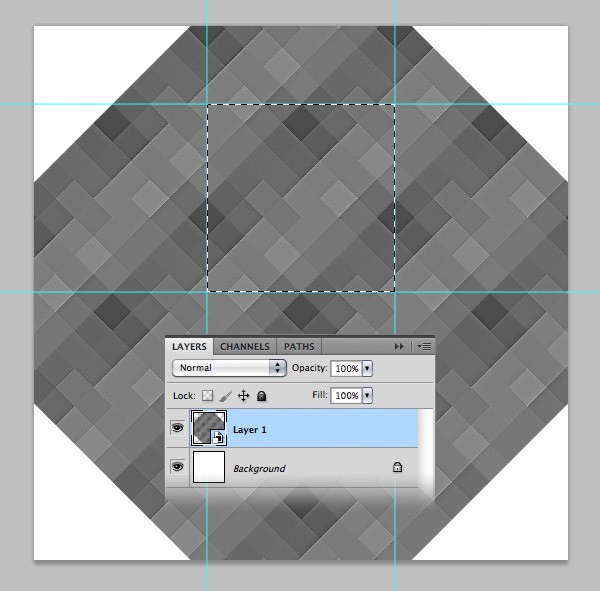
- Select the Rectangular Marquee Tool (M) and select the square between guides.
- With the "Layer 1" layer selected go to Edit > Copy (Ctrl/Cmd + C). Create a new document (Ctrl/Cmd + N). Photoshop will use the dimensions of the selection you made as dimensions for the new document. Click OK and paste (Ctrl/Cmd + V) the image you selected.
- Now go to Edit > Define Pattern, give your pattern a name and click OK.
Creating the Image Slider Background
- Create a new group and name it "Image Slider".
- Select the Rectangle Tool (U) and create a rectangle with the height 410px and the same width as your document.
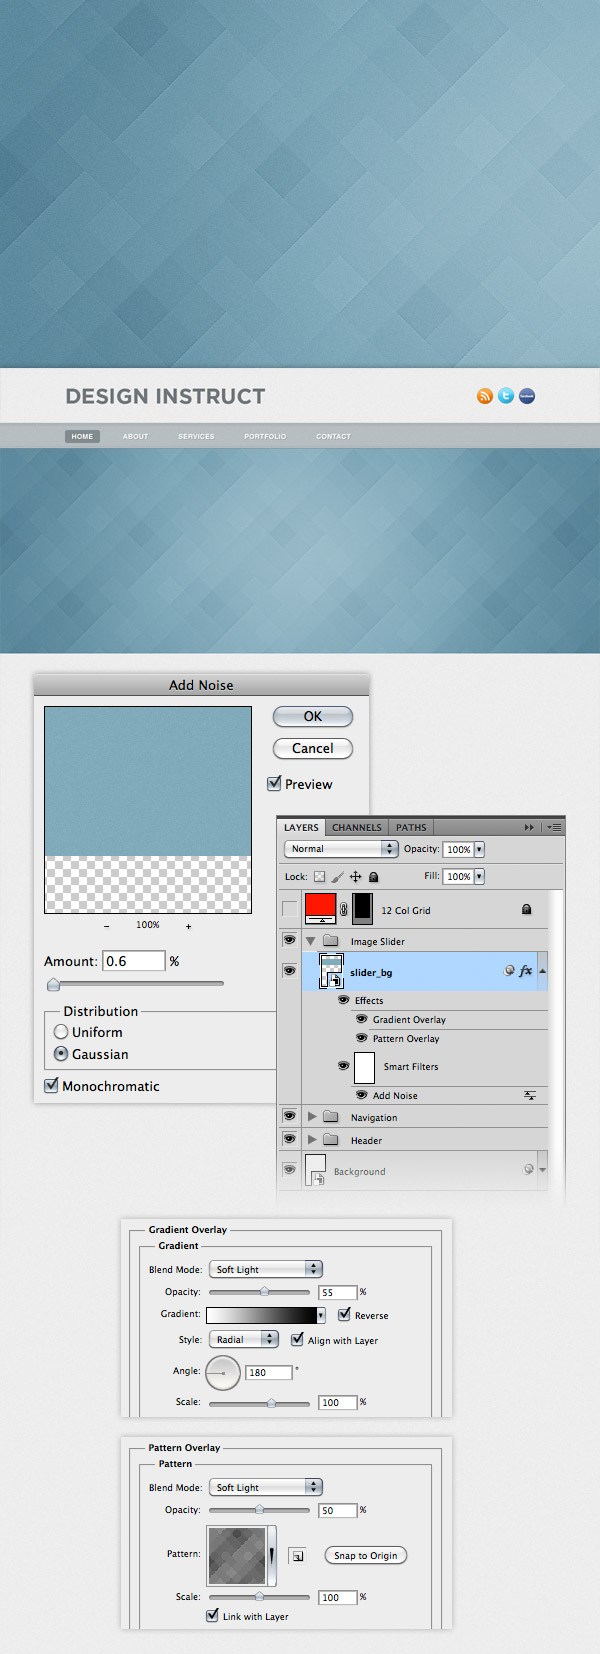
- Use the color #799caf. Name this layer "slider_bg", right-click on it and select Convert to Smart Object.
- Double-click on this layer to open the Layer Style window and use the settings from the following image. Then go to Filter > Noise > Add Noise and add a 0.6 Gaussian Monochromatic noise.
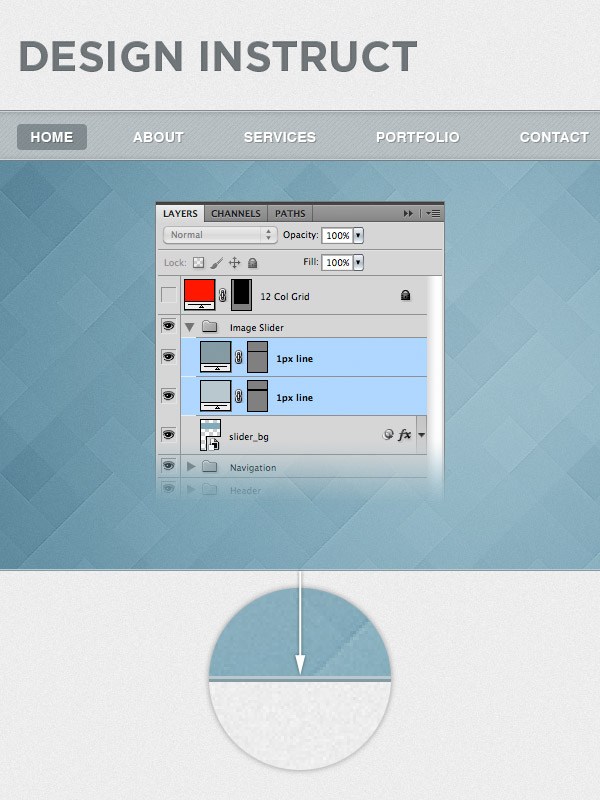
- Use the Line Tool (U) to create two horizontal lines with the weight 1px at the bottom of the image slider background. For the first line use the color #b8c8ce and for second one use #849ba4.
http://designinstruct.com/web-design/create-a-light-textured-web-design-in-photoshop/